
Page 445 - ProShow Producer Manual
P. 445
445
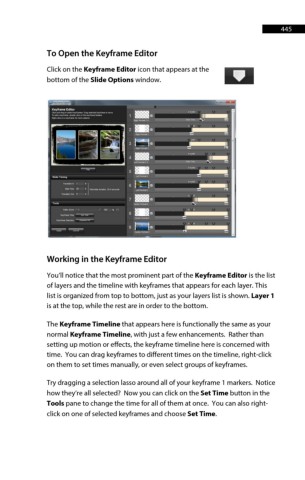
To Open the Keyframe Editor
Click on the Keyframe Editor icon that appears at the
bottom of the Slide Options window.
Working in the Keyframe Editor
You’ll notice that the most prominent part of the Keyframe Editor is the list
of layers and the timeline with keyframes that appears for each layer. This
list is organized from top to bottom, just as your layers list is shown. Layer 1
is at the top, while the rest are in order to the bottom.
The Keyframe Timeline that appears here is functionally the same as your
normal Keyframe Timeline, with just a few enhancements. Rather than
setting up motion or effects, the keyframe timeline here is concerned with
time. You can drag keyframes to different times on the timeline, right-click
on them to set times manually, or even select groups of keyframes.
Try dragging a selection lasso around all of your keyframe 1 markers. Notice
how they’re all selected? Now you can click on the Set Time button in the
Tools pane to change the time for all of them at once. You can also right-
click on one of selected keyframes and choose Set Time.