
Page 443 - ProShow Producer Manual
P. 443
443
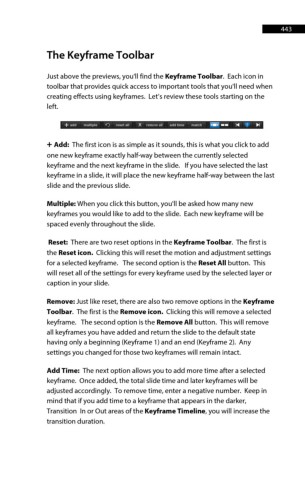
The Keyframe Toolbar
Just above the previews, you'll find the Keyframe Toolbar. Each icon in
toolbar that provides quick access to important tools that you'll need when
creating effects using keyframes. Let’s review these tools starting on the
left.
+ Add: The first icon is as simple as it sounds, this is what you click to add
one new keyframe exactly half-way between the currently selected
keyframe and the next keyframe in the slide. If you have selected the last
keyframe in a slide, it will place the new keyframe half-way between the last
slide and the previous slide.
Multiple: When you click this button, you'll be asked how many new
keyframes you would like to add to the slide. Each new keyframe will be
spaced evenly throughout the slide.
Reset: There are two reset options in the Keyframe Toolbar. The first is
the Reset icon. Clicking this will reset the motion and adjustment settings
for a selected keyframe. The second option is the Reset All button. This
will reset all of the settings for every keyframe used by the selected layer or
caption in your slide.
Remove: Just like reset, there are also two remove options in the Keyframe
Toolbar. The first is the Remove icon. Clicking this will remove a selected
keyframe. The second option is the Remove All button. This will remove
all keyframes you have added and return the slide to the default state
having only a beginning (Keyframe 1) and an end (Keyframe 2). Any
settings you changed for those two keyframes will remain intact.
Add Time: The next option allows you to add more time after a selected
keyframe. Once added, the total slide time and later keyframes will be
adjusted accordingly. To remove time, enter a negative number. Keep in
mind that if you add time to a keyframe that appears in the darker,
Transition In or Out areas of the Keyframe Timeline, you will increase the
transition duration.