Page 468 - ProShow Producer Manual
P. 468
468     17. Keyframing

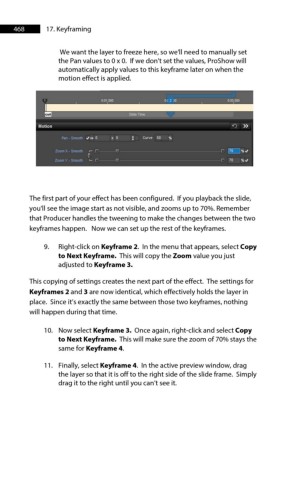
                We want the layer to freeze here, so we'll need to manually set
               the Pan values to 0 x 0.  If we don't set the values, ProShow will
               automatically apply values to this keyframe later on when the
               motion effect is applied.


        The first part of your effect has been configured.  If you playback the slide,
        you'll see the image start as not visible, and zooms up to 70%. Remember
        that Producer handles the tweening to make the changes between the two
        keyframes happen.   Now we can set up the rest of the keyframes.
            9.   Right-click on Keyframe 2.  In the menu that appears, select Copy
               to Next Keyframe.  This will copy the Zoom value you just
               adjusted to Keyframe 3.

        This copying of settings creates the next part of the effect.  The settings for
        Keyframes 2 and 3 are now identical, which effectively holds the layer in
        place.  Since it’s exactly the same between those two keyframes, nothing
        will happen during that time.
            10.  Now select Keyframe 3.  Once again, right-click and select Copy
               to Next Keyframe.  This will make sure the zoom of 70% stays the
               same for Keyframe 4.

            11.  Finally, select Keyframe 4.  In the active preview window, drag
               the layer so that it is off to the right side of the slide frame.  Simply
               drag it to the right until you can’t see it.

