
Page 465 - ProShow Producer Manual
P. 465
465
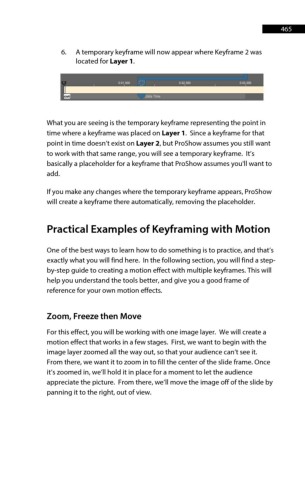
6. A temporary keyframe will now appear where Keyframe 2 was
located for Layer 1.
What you are seeing is the temporary keyframe representing the point in
time where a keyframe was placed on Layer 1. Since a keyframe for that
point in time doesn’t exist on Layer 2, but ProShow assumes you still want
to work with that same range, you will see a temporary keyframe. It’s
basically a placeholder for a keyframe that ProShow assumes you'll want to
add.
If you make any changes where the temporary keyframe appears, ProShow
will create a keyframe there automatically, removing the placeholder.
Practical Examples of Keyframing with Motion
One of the best ways to learn how to do something is to practice, and that’s
exactly what you will find here. In the following section, you will find a step-
by-step guide to creating a motion effect with multiple keyframes. This will
help you understand the tools better, and give you a good frame of
reference for your own motion effects.
Zoom, Freeze then Move
For this effect, you will be working with one image layer. We will create a
motion effect that works in a few stages. First, we want to begin with the
image layer zoomed all the way out, so that your audience can’t see it.
From there, we want it to zoom in to fill the center of the slide frame. Once
it’s zoomed in, we’ll hold it in place for a moment to let the audience
appreciate the picture. From there, we’ll move the image off of the slide by
panning it to the right, out of view.