
Page 463 - ProShow Producer Manual
P. 463
463
During the previous exercise, if you had applied
several changes to the ending position instead of
just the zoom, there's a right-click option you may
find helpful.
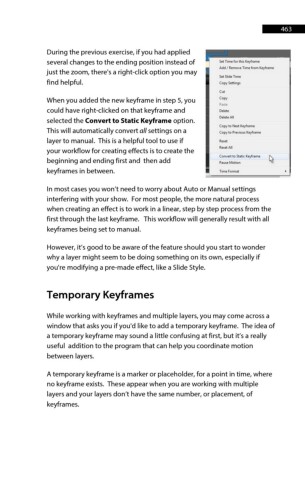
When you added the new keyframe in step 5, you
could have right-clicked on that keyframe and
selected the Convert to Static Keyframe option.
This will automatically convert all settings on a
layer to manual. This is a helpful tool to use if
your workflow for creating effects is to create the
beginning and ending first and then add
keyframes in between.
In most cases you won’t need to worry about Auto or Manual settings
interfering with your show. For most people, the more natural process
when creating an effect is to work in a linear, step by step process from the
first through the last keyframe. This workflow will generally result with all
keyframes being set to manual.
However, it’s good to be aware of the feature should you start to wonder
why a layer might seem to be doing something on its own, especially if
you're modifying a pre-made effect, like a Slide Style.
Temporary Keyframes
While working with keyframes and multiple layers, you may come across a
window that asks you if you'd like to add a temporary keyframe. The idea of
a temporary keyframe may sound a little confusing at first, but it’s a really
useful addition to the program that can help you coordinate motion
between layers.
A temporary keyframe is a marker or placeholder, for a point in time, where
no keyframe exists. These appear when you are working with multiple
layers and your layers don’t have the same number, or placement, of
keyframes.