Page 462 - ProShow Producer Manual
P. 462
462     17. Keyframing

            3.   Using the options in the Motion & Audio pane, create a very
               simple zoom-in from Keyframe 1 (Starting Position) to
               Keyframe 2 (Ending Position).

            4.   Preview the slide to see your simple motion in action.
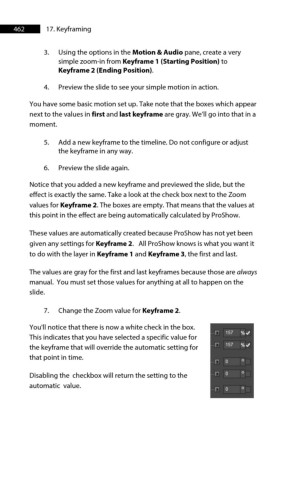
        You have some basic motion set up. Take note that the boxes which appear
        next to the values in first and last keyframe are gray. We’ll go into that in a
        moment.

            5.   Add a new keyframe to the timeline. Do not configure or adjust
               the keyframe in any way.
            6.   Preview the slide again.

        Notice that you added a new keyframe and previewed the slide, but the
        effect is exactly the same. Take a look at the check box next to the Zoom
        values for Keyframe 2. The boxes are empty. That means that the values at
        this point in the effect are being automatically calculated by ProShow.

        These values are automatically created because ProShow has not yet been
        given any settings for Keyframe 2.   All ProShow knows is what you want it
        to do with the layer in Keyframe 1 and Keyframe 3, the first and last.
        The values are gray for the first and last keyframes because those are always
        manual.  You must set those values for anything at all to happen on the
        slide.

            7.   Change the Zoom value for Keyframe 2.

        You'll notice that there is now a white check in the box.
        This indicates that you have selected a specific value for
        the keyframe that will override the automatic setting for
        that point in time.
        Disabling the  checkbox will return the setting to the
        automatic  value.

