
Page 188 - ProShow Producer 9 Final Manual
P. 188
187 187
Zoom
We’ve established so far that the Scaling option you choose sets the base
size for the layer on your slide. The scale you go with becomes the base
Zoom value of 100%. All of your layers are going to default to 100% Zoom,
based on the scale, once you add them to a slide.
You can further adjust the Zoom value for each layer from there. Moving
the Zoom slider to the left and right will decrease or increase the size of
your layer, respectively. You also have the option to type a number directly
into the value field.
The slider will let you adjust your Zoom from 0% to 500%. A Zoom value of
0% effectively makes the layer invisible; the layer is so small that it can’t be
seen. A Zoom value of 500% increases the layer to 5x its normal size.
If you need more size you can manually type in any Zoom value you want.
If you want your layer to be particularly large try typing in a value of 1200%.
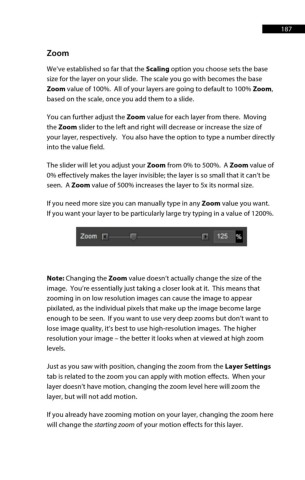
Zoom 1 , 1 125 %
Note: Changing the Zoom value doesn’t actually change the size of the
image. You’re essentially just taking a closer look at it. This means that
zooming in on low resolution images can cause the image to appear
pixilated, as the individual pixels that make up the image become large
enough to be seen. If you want to use very deep zooms but don’t want to
lose image quality, it’s best to use high-resolution images. The higher
resolution your image – the better it looks when at viewed at high zoom
levels.
Just as you saw with position, changing the zoom from the Layer Settings
tab is related to the zoom you can apply with motion effects. When your
layer doesn’t have motion, changing the zoom level here will zoom the
layer, but will not add motion.
If you already have zooming motion on your layer, changing the zoom here
will change the starting zoom of your motion effects for this layer.