
Page 402 - ProShow Producer Manual
P. 402
402 16. Masks & Adjustment Layers
layers. Think of it this way: masks control what can be seen, if the only layer
on your slide is a mask, there is nothing for the mask to control.
Before we go into depth on the mask types and how they work, let’s
consider the traditional example of masking discussed at the beginning of
the chapter. That involved painting a white surface black, but leaving a
white circle in the middle. We can make a digital re-creation of this example
by setting up some layers. This will demonstrate how masking works in
digital form.
To Create a Traditional Masking Example:
Remember that we want to create a black slide frame with a single white
circle in the middle. To do this, we need to set a white color layer in place
along with a black color layer. Then we add the mask to give us only a
white circle.
1. Create a blank slide and
open the Slide Options
window.
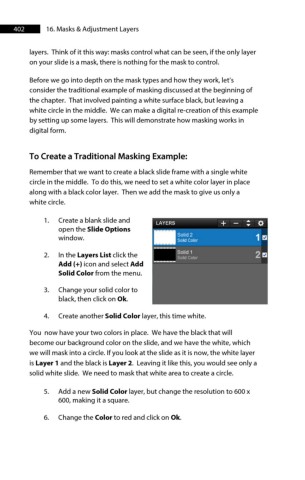
2. In the Layers List click the
Add (+) icon and select Add
Solid Color from the menu.
3. Change your solid color to
black, then click on Ok.
4. Create another Solid Color layer, this time white.
You now have your two colors in place. We have the black that will
become our background color on the slide, and we have the white, which
we will mask into a circle. If you look at the slide as it is now, the white layer
is Layer 1 and the black is Layer 2. Leaving it like this, you would see only a
solid white slide. We need to mask that white area to create a circle.
5. Add a new Solid Color layer, but change the resolution to 600 x
600, making it a square.
6. Change the Color to red and click on Ok.