
Page 535 - ProShow Producer 9 Final Manual
P. 535
534 17. Keyframing
Create a new slide with two layers. Position the two layers on the slide so
that you can see both of them at the same time. Once that’s done, follow
the steps.
1. Create a slide with two image layers. In Layer Settings, set both
layers to a zoom value of 45%. Position the layers so that they are
side by side in the preview.
2. Create one new keyframe for Layer 1. It doesn’t matter where it
appears on the timeline. (To give you a total of 3 keyframes)
3. Select the new keyframe in the timeline.
4. In the Preview window, click on Layer 2. Note: you must click on
Layer 2 in the active preview window. If you select it in any other
way, the temporary keyframe will not appear.
5. A window will open and ask you if you'd like to create a temporary
keyframe. For this example, click the Add Temporary button.
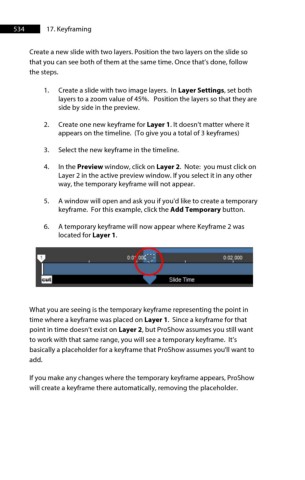
6. A temporary keyframe will now appear where Keyframe 2 was
located for Layer 1.
V , oo· ooc:.--; , 002000
,
, , ,
I
~ Shde-,me
What you are seeing is the temporary keyframe representing the point in
time where a keyframe was placed on Layer 1. Since a keyframe for that
point in time doesn’t exist on Layer 2, but ProShow assumes you still want
to work with that same range, you will see a temporary keyframe. It’s
basically a placeholder for a keyframe that ProShow assumes you'll want to
add.
If you make any changes where the temporary keyframe appears, ProShow
will create a keyframe there automatically, removing the placeholder.