
Page 504 - ProShow Producer 9 Final Manual
P. 504
503 503
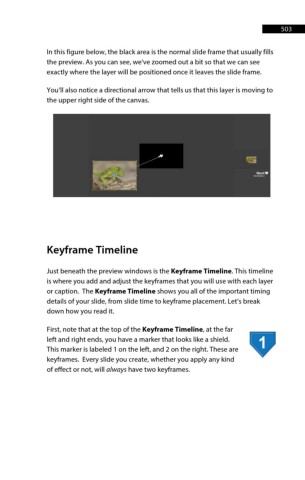
In this figure below, the black area is the normal slide frame that usually fills
the preview. As you can see, we've zoomed out a bit so that we can see
exactly where the layer will be positioned once it leaves the slide frame.
You’ll also notice a directional arrow that tells us that this layer is moving to
the upper right side of the canvas.
Keyframe Timeline
Just beneath the preview windows is the Keyframe Timeline. This timeline
is where you add and adjust the keyframes that you will use with each layer
or caption. The Keyframe Timeline shows you all of the important timing
details of your slide, from slide time to keyframe placement. Let’s break
down how you read it.
First, note that at the top of the Keyframe Timeline, at the far
left and right ends, you have a marker that looks like a shield.
This marker is labeled 1 on the left, and 2 on the right. These are
keyframes. Every slide you create, whether you apply any kind
of effect or not, will always have two keyframes.