
Page 495 - ProShow Producer 9 Final Manual
P. 495
494 16. Masks & Adjustment Layers
If you preview the slide, once again you'll notice that the original image
hasn't changed. So now it's time to add some adjustments.
This time the goal is to make a spotlight. So once again we're going to start
with a square and use the vignette option to adjust the shape.
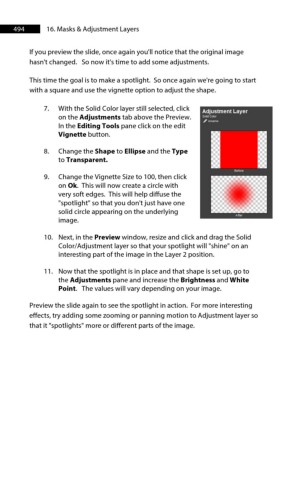
7. With the Solid Color layer still selected, click
Adjustment Layer
on the Adjustments tab above the Preview. Solid Color
In the Editing Tools pane click on the edit
Vignette button.
I I
8. Change the Shape to Ellipse and the Type
to Transparent.
Before
solid circle appearing on the underlying a
9. Change the Vignette Size to 100, then click
on Ok. This will now create a circle with
very soft edges. This will help diffuse the
.
.
"spotlight" so that you don't just have one
Aller
image.
10. Next, in the Preview window, resize and click and drag the Solid
Color/Adjustment layer so that your spotlight will "shine" on an
interesting part of the image in the Layer 2 position.
11. Now that the spotlight is in place and that shape is set up, go to
the Adjustments pane and increase the Brightness and White
Point. The values will vary depending on your image.
Preview the slide again to see the spotlight in action. For more interesting
effects, try adding some zooming or panning motion to Adjustment layer so
that it "spotlights" more or different parts of the image.