
Page 344 - ProShow Producer 9 Final Manual
P. 344
343 343
Using the Audio Trimmer
The largest feature of the Audio Trimmer is the waveform preview that
appears at the top of the window. There are two waveforms that represent
the Left and Right channels of your stereo audio, but consider this to be one
waveform for the sake of making changes.
Beneath the waveform are the tools you can use to choose which part of
the audio you want to include in your show. Let’s start with an example
that will trim the silence from the start and end of a track. The steps below
will generally work with just about any sound file.
To Trim Silence from Audio
1. Open the Audio Trimmer.
2. Adjust the Zoom slider to get a closer look at the sound file. As
you move to the right, you’ll be looking at smaller and smaller
increments of time, down to 10ths of a second.
3. Move the Position slider all the way to the left so you can see the
beginning of the audio file. Most likely, you'll notice that there is
an area at the start of the waveform, which is flat. This is silence.
4. Click on the waveform where the silence ends and the waveform
begins to take shape. A marker will appear where you clicked.
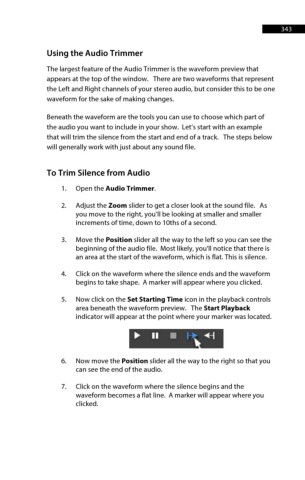
5. Now click on the Set Starting Time icon in the playback controls
area beneath the waveform preview. The Start Playback
indicator will appear at the point where your marker was located.
... II • It-- +-I
6. Now move the Position slider all the way to the right so that you
can see the end of the audio.
7. Click on the waveform where the silence begins and the
waveform becomes a flat line. A marker will appear where you
clicked.