
Page 377 - ProShow Producer Manual
P. 377
377
7. In the active preview, your image should look exactly the same as
when you first added to the slide. Now click and drag so that
you're focusing on another interesting part of the image and
adjust your zoom however you'd like.
That’s it. You’re finished!
At the bottom of the Slide Options window, click the Play icon to see your
motion effect.
What you should see is a subtle effect that pans your layer across the screen
as the image zooms in or out (depending on your choices)
You have created a motion effect by simply arranging the layer the way you
wanted it to look when the slide began and ended.
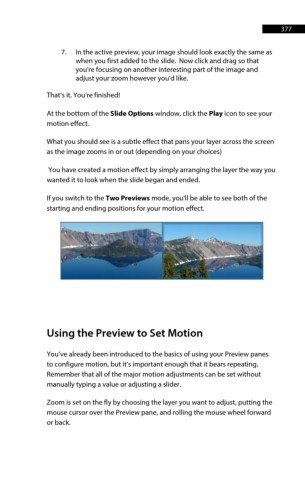
If you switch to the Two Previews mode, you'll be able to see both of the
starting and ending positions for your motion effect.
Using the Preview to Set Motion
You’ve already been introduced to the basics of using your Preview panes
to configure motion, but it’s important enough that it bears repeating.
Remember that all of the major motion adjustments can be set without
manually typing a value or adjusting a slider.
Zoom is set on the fly by choosing the layer you want to adjust, putting the
mouse cursor over the Preview pane, and rolling the mouse wheel forward
or back.