
Page 375 - ProShow Producer Manual
P. 375
375
To Create a Traditional Panning Layer
1. Create a new slide using any photo you'd like.
2. Double-click on the slide to open the Slide Options window.
3. Select the layer in the Layer's List and click on the Effects tab.
Here’s where you will get a good idea of how easy motion can be to
arrange. You’re not going to need to worry about the values in the settings
panes. This will just be a bit of dragging and some mouse wheel work.
Note: if you don’t have a mouse wheel, you can follow the instructions by
dragging the Zoom slider, found in the Motion & Audio pane. Dragging
the slider to the left zooms out, while dragging it to the right zooms in.
Remember, the Zoom X and Zoom Y sliders are locked together by
default. This means you only need to adjust one value, the other will
change automatically.
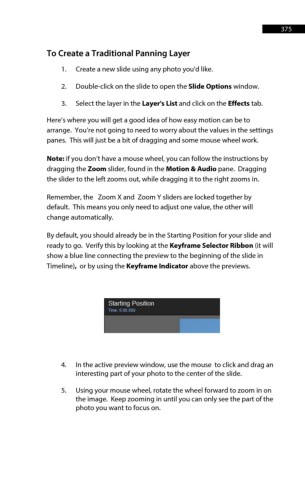
By default, you should already be in the Starting Position for your slide and
ready to go. Verify this by looking at the Keyframe Selector Ribbon (it will
show a blue line connecting the preview to the beginning of the slide in
Timeline), or by using the Keyframe Indicator above the previews.
4. In the active preview window, use the mouse to click and drag an
interesting part of your photo to the center of the slide.
5. Using your mouse wheel, rotate the wheel forward to zoom in on
the image. Keep zooming in until you can only see the part of the
photo you want to focus on.